Alabama seasons come and go on a whim. Some years, summer and winter linger forever, while spring and fall only visit a few brief days. This January, winter decided to sit down and stay for a while. Snow first fell across the state’s northern border, bringing frigid temperatures with it.
A week later, the sugar sands of Alabama’s beaches turned a cooler shade of white as snow blanketed the coastline for the first time in decades. Snow’s rare visits to Alabama unleash survival instincts: grocery store shelves empty and four-wheel drives engage. The first snowfall, harvested in a bowl, is the primary ingredient in snow cream recipes.
But when one snow day stretches into three, we need to dig deeper in the recipe box. Southern cooks are accustomed to long summers when cooking is easy and instant, but with a little forethought and planning, summer and fall ingredients remain available to us during winter. Cold-weather cooking is about warmth, comfort, and preservation.
For my grandparents in Marion County, Alabama, self-preservation meant food preservation. They didn’t “run” to the grocery store when temperatures were forecast for the teens. They grew up during the Great Depression and knew how to stock their own pantry. A quick walk down the hall was as far as they traveled for canned goods.
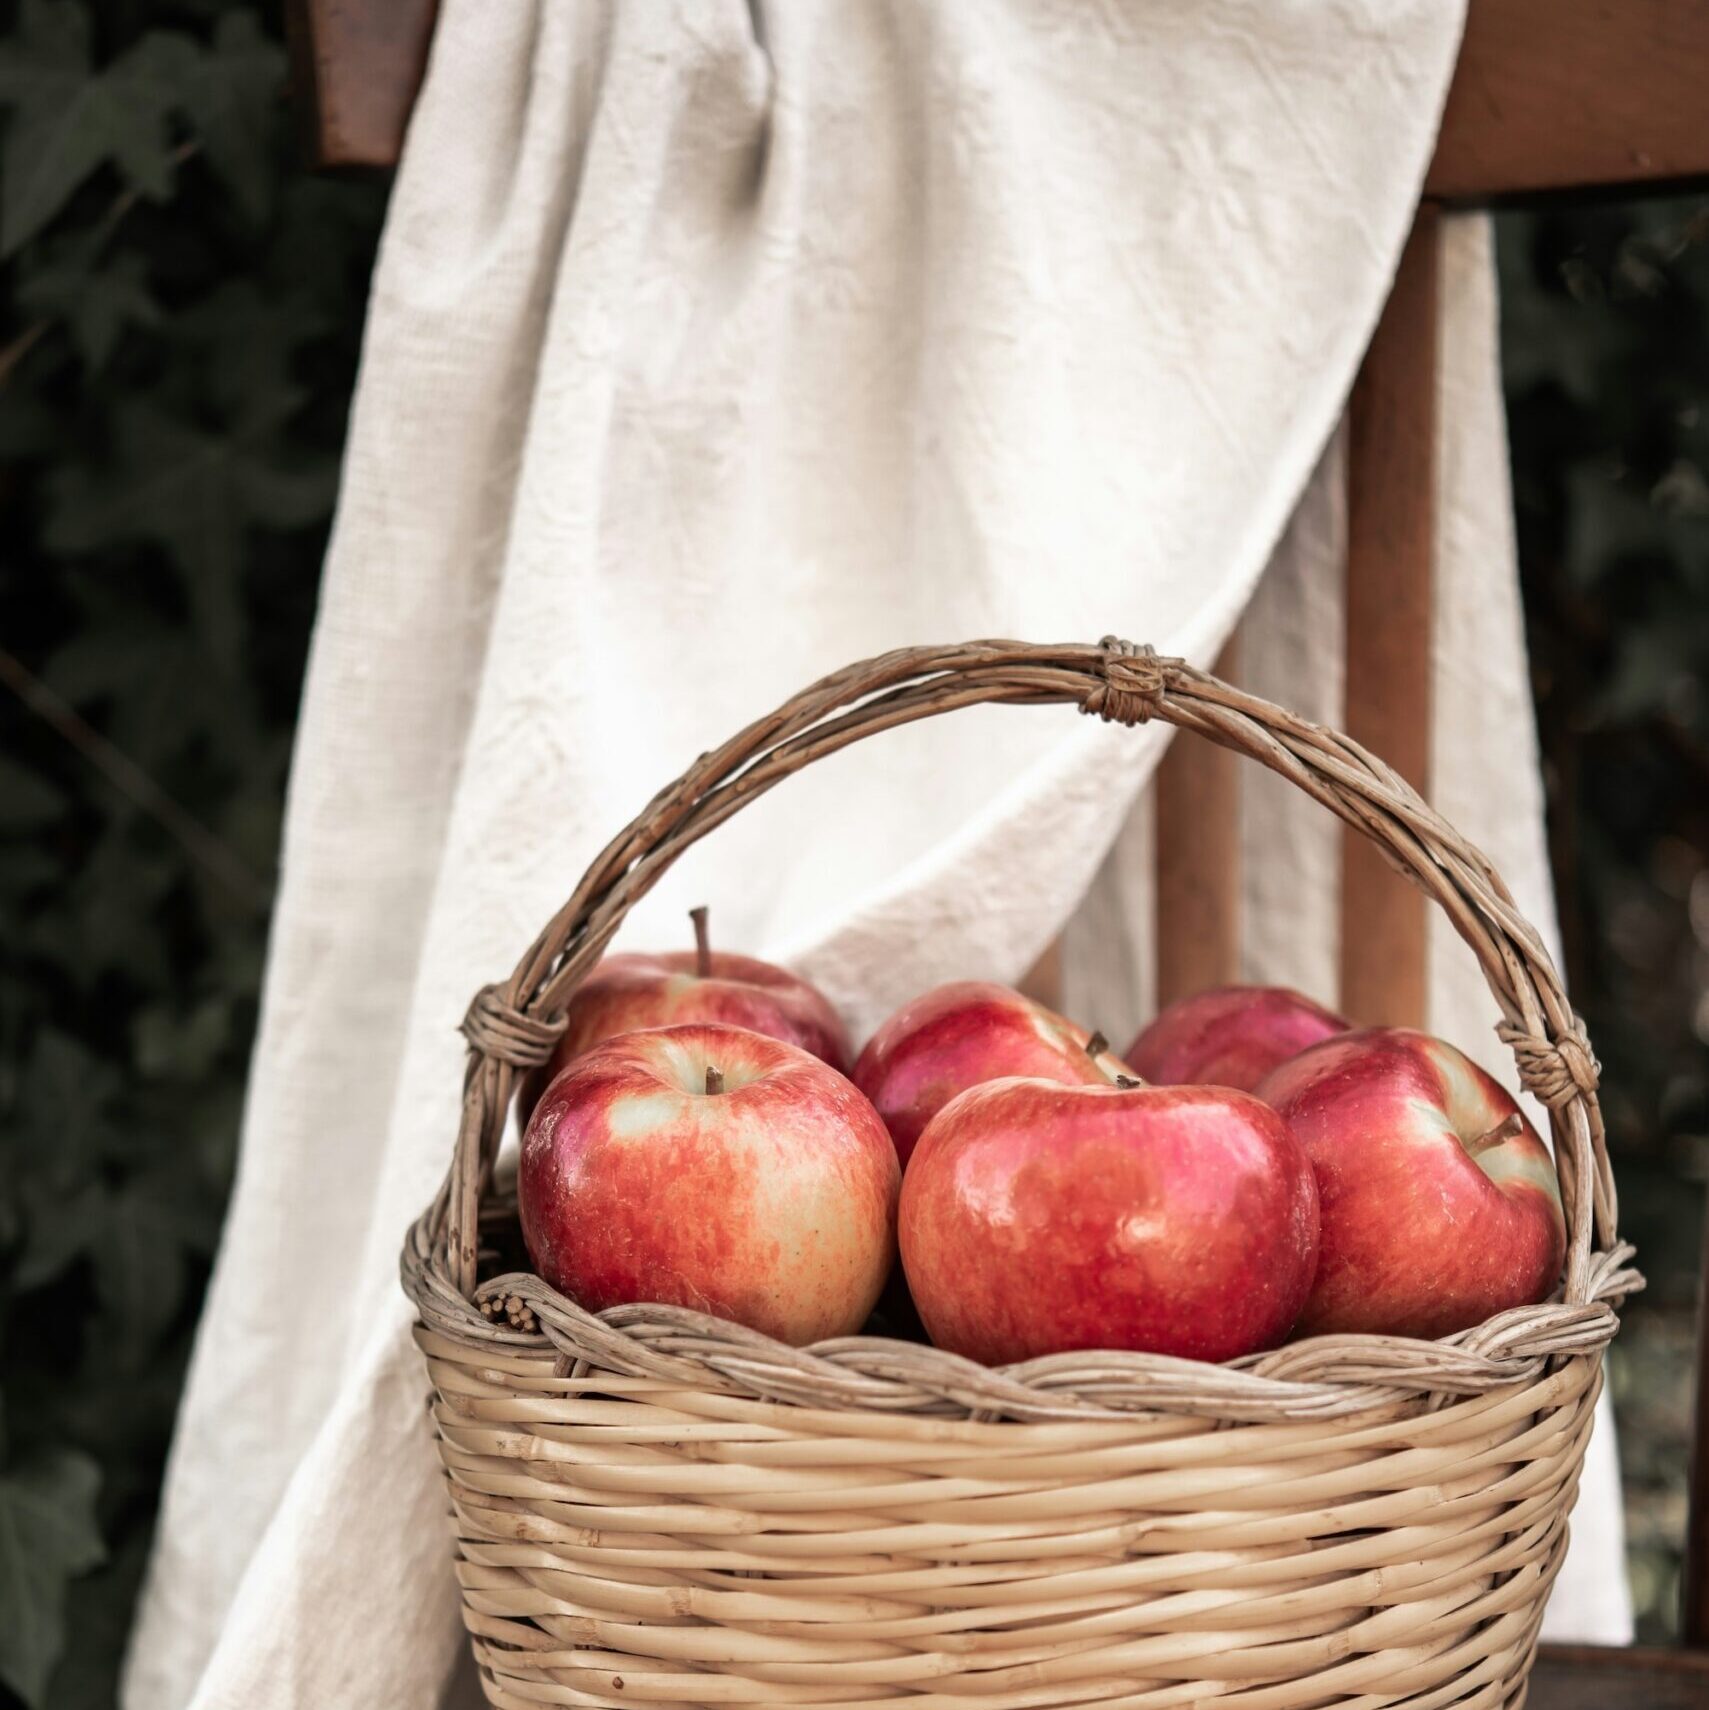
The pantry was a museum of harvests from seasons past, lined from floor to ceiling with dusty glass jars. Ruby red tomatoes put up several summers ago, black-eyed peas shelled on a porch and misshapen golden apple slices picked, peeled, and dried in the heavy June sun. Hours of hot work sealed up in a Mason jar were pried open months or years later and emptied out for a winter dinner.
Ollie Lee, my mamaw and curator of all foods preserved, surveyed her pantry and identified jars containing dried apples her mother-in-law had put up as a bride. I suspect they weren’t worth eating, but she couldn’t throw them away. An image created in my child mind of my redheaded great-grandmother plucking apples while clothed in a lacy white gown remains stuck in my adult head. The apple orchard next to their home was where those small, red-blushed green apples grew. I doubt my great-grandmother was wearing lace when she picked them.
In the shade of those trees, her son, my papaw, spent hours peeling apples while sitting on the small round surface of an upside-down metal five-gallon bucket. His pocketknife skinned the black-speckled peels of hundreds of apples. The small mountain of peels he generated was cast aside, a gift for the hogs.
What remained were tart apple slices, spread on racks to dry in the sun. Pressed into jars and suspended in time, apples picked today can last forever. This is how you get fried apple pies in winter when the apple trees are bare. If you don’t have Mason jars full of dried apple slices saved for winter, here’s the next best thing:
Stewed Dried Apple Filling
Ingredients:
- 2 cups dried apples
- 3 cups water
- ¼ cup sugar (adjust to taste)
- ½ teaspoon cinnamon
- ¼ teaspoon nutmeg
- 1 tablespoon butter
- 1 teaspoon lemon juice
Instructions:
- Rehydrate the Apples:
- Place dried apples in a saucepan and cover with water or apple cider.
- Let them soak for at least 30 minutes (or up to 2 hours for softer texture).
- Simmer:
- Place the saucepan over medium heat and bring the mixture to a gentle simmer.
- Reduce heat to low and cook for 30–40 minutes, stirring occasionally.
- Sweeten & Flavor:
- Add sugar, cinnamon, and nutmeg, stirring to combine.
- Simmer for another 5-10 minutes until apples are fully tender and the liquid has thickened.
- Finish & Serve:
- Mash softened apples to desired texture.
- Stir in butter and lemon juice.
- Serve warm or store in the fridge for up to a week.
Fried Apple Pies

(Christy Williams/Contributed)
Ingredients:
- 2 ½ cups all-purpose flour
- 1 teaspoon salt
- ½ teaspoon baking powder
- 1 tablespoon sugar (optional)
- ½ cup lard (or solid shortening, or a mix of lard and butter)
- 1 egg, beaten
- 1 tablespoon apple cider vinegar
- ½ cup ice water (adjust as needed)
Instructions:
1. Mix Dry Ingredients:
- In a large bowl, whisk together the flour, salt, baking powder, and sugar (if using).
2. Cut in the Fat:
- Using a pastry cutter or your hands, cut the lard (or shortening/butter) into the flour mixture until it resembles coarse crumbs.
3. Add Liquid Ingredients:
- In a small bowl, beat the egg and mix in the vinegar and ice water.
- Pour into the flour mixture and stir gently until just combined. Do not overwork the dough. Knead dough a few times on a floured surface until it just comes together.
4. Rest the Dough:
- Wrap the dough in plastic wrap or a damp cloth and let it rest for at least 30 minutes (or up to a few hours in the fridge). This helps with tenderness.
5. Roll & Cut:
- On a lightly floured surface, roll the dough to about ⅛ inch thickness.
- Cut into circles (about 6 inches across) for hand pies.
6. Fill & Fold:
- Place a few tablespoons of stewed dried apple filling on one side of each dough circle.
- Fold over and crimp the edges with a fork, sealing tightly.
7. Fry:
- Heat about ½ inch of lard or vegetable oil in a cast-iron skillet over medium heat.
- Fry pies until golden brown on both sides, about 2-3 minutes per side.
- Drain on paper towels. Can be served warm, but preferred serving is room temperature, one day old.


